Authorized Purchase Orders Quick Report
The Authorized Purchase Orders Quick Report
lists all POs that have been authorized during that day. The report can contain the
Purchase order Number, Type, Communication Method, Vendor/Location, Buyer,
Authorized Buyer, Create Date, Authorized Date, Status, Total Cost and
Total Lines -- any data available from the Purchase Order list columns.
To create a Authorized POs Quick Report:
- From the main Contents, select Purchasing > Purchase Orders (by PO) or Purchase Orders (by Create Date).
The list of POs ordered by PO number or by create date (as you selected) appears.
- Select Search. The "Search" page for
purchase orders displays.
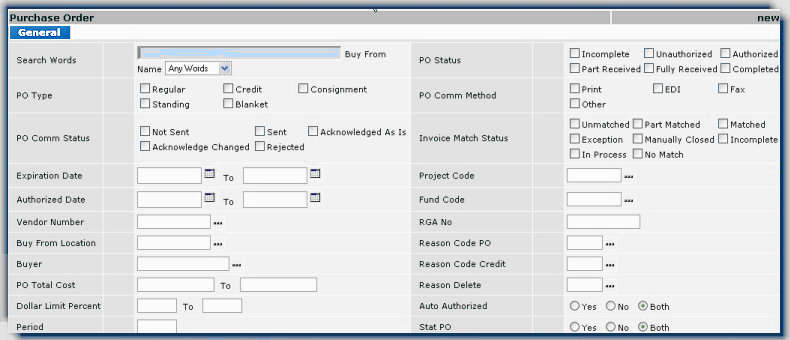
- In the PO Status section, select Authorized.
Note:
In Invoice Match Status, you could also select Unmatched. This should assist is narrowing
your selection. POs are most likely not matched and authorized on the same day.
- Click Submit. The purchase orders found
from the search are listed ordered by PO No.
- Click the header on the Authorized Date column. The column re-sorts.
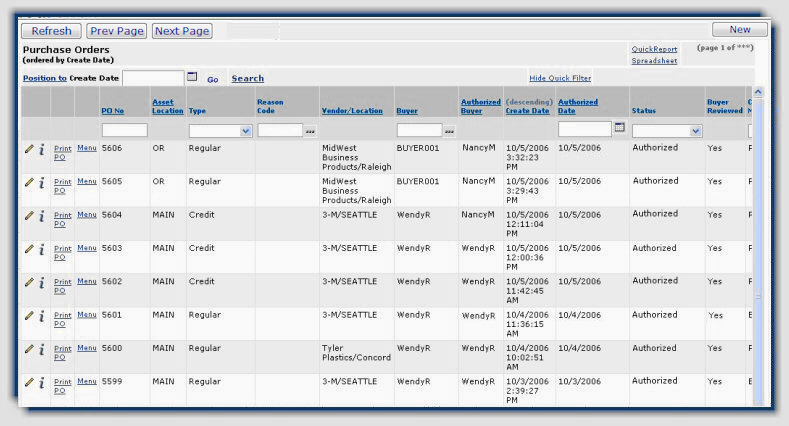
- Next to the Position To box, click the calendar icon and select today's date.
- Click Go.
The POs authorized today are listed.
- To create the Quick Report, click Quick Report.
The
Quick Report page displays showing the POs that were authorized today.
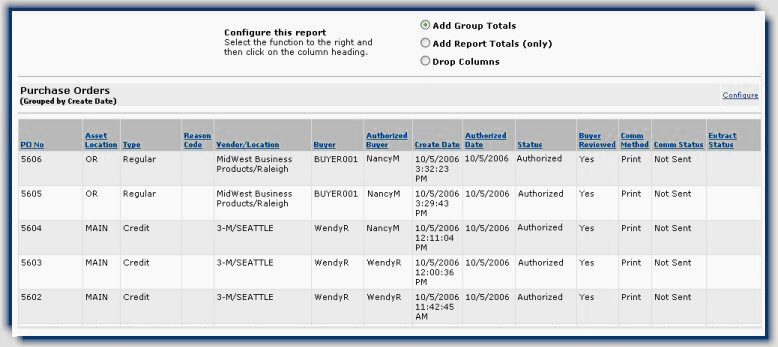
-
To
drop unneeded columns from your report, select Drop Columns from the
option buttons at the top of the report.
Click the column heading of each column that you would like to drop from the report.
The
columns are dropped from the Quick Report after each selection.
-
Select
Add Report Totals from the buttons at the top of the report
and click the column heading
Total Cost (not shown in figure...scroll to the right) to get the
total cost of all the POs authorized today.
-
Click File > Print Preview.
The
formatted report displays ready to print.
- Click Print.
The Print panel appears.
You can select the printer for your report, and, by clicking Properties,
you can specify the Orientation on the page as either Portrait
or Landscape output. (Landscape prints pages the on the
"long" side, often useful for wide reports.)
See To
print a Quick Report for more tips on printing.
Copyright © 2023 by Premier Inc. All rights reserved.